Segment Web Plugin Quickstart
Walk-through for the SaaSquatch Segment.io integration for sending data from Segment.io to SaaSquatch. Further information about our Segment.io integration can be found in our full Segment.io Guide
| Source / Stream | Destination / Subscription | Web Plugin | |
|---|---|---|---|
| Segment Integration Documentation |
|
🔗 Using the Segment Integration
This quickstart guide will walk you through setting up a referral program by making use the SaaSquatch integration with Segment.io.
The Segment integration with SaaSquatch allows you to replace the functionality of the SaaSquatch squatch.js library with that of the Segment Analytics Library's Identify method. This quickstart guide includes code examples for common use-cases for the segment integration.
The use of Segment in your referral program can be extended beyond what is covered in this Quickstart Guide by simply substituting the SaaSquatch squatch.js library for the Segment Analytics Library's Identify method where applicable. Our Guides portal also contains examples for a range of business models and reward types.
Further details can be found in our Segment Integration Reference.
🔗 Configuring Segment
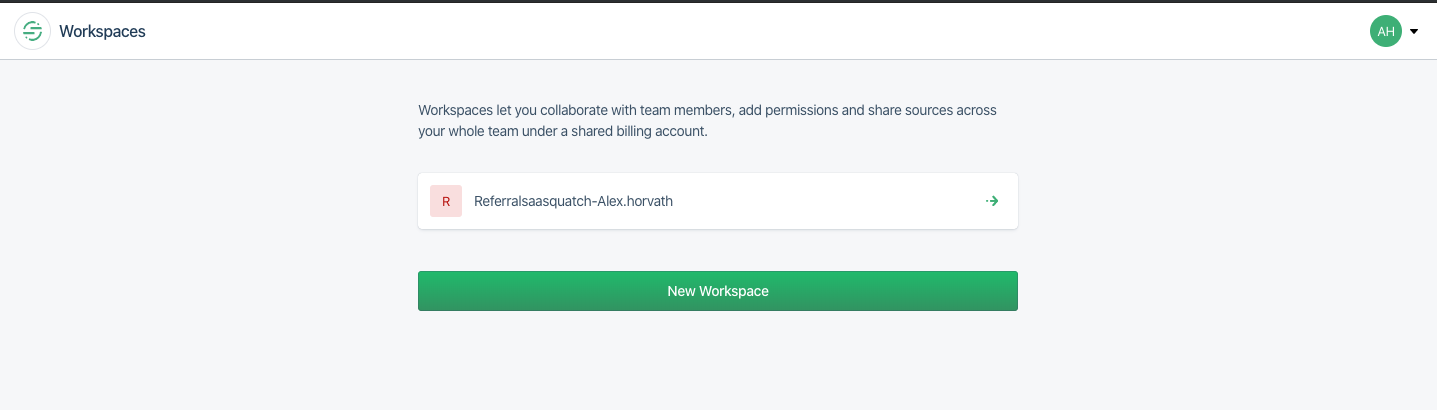
🔗 Select the Workspace and Source
- Select the Segment Workspace that you would like to add the SaaSquatch integration to:
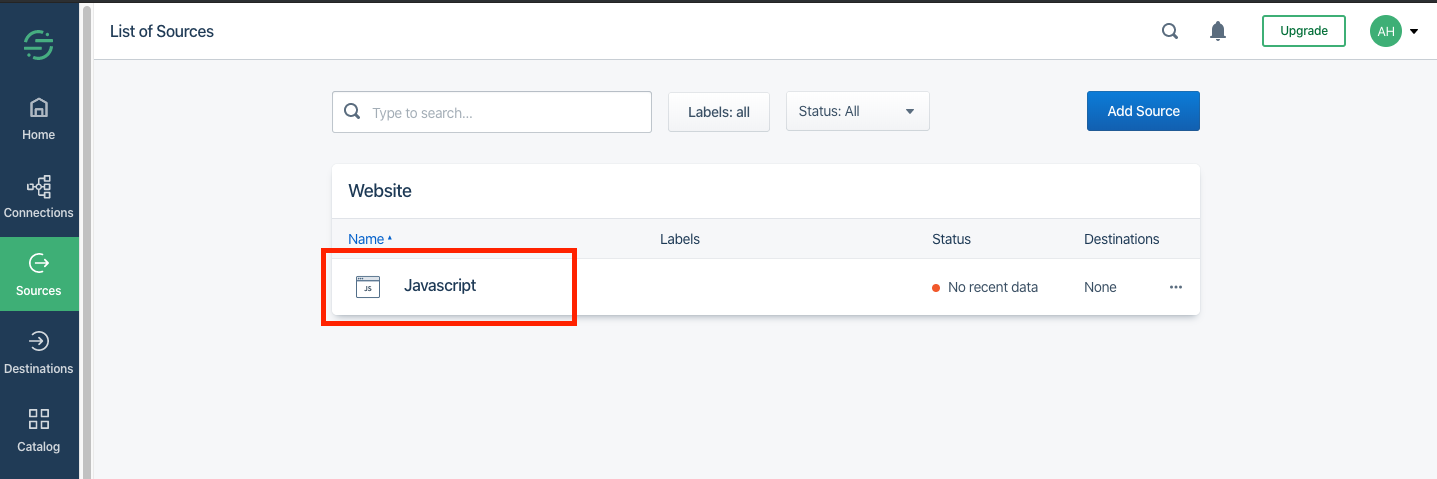
 2. Select the source that you would like add the SaaSquatch integration to:
🔗 Enable SaaSquatch Integration
Search for "SaaSquatch", select the item, and click the green "Enable Integration" button:

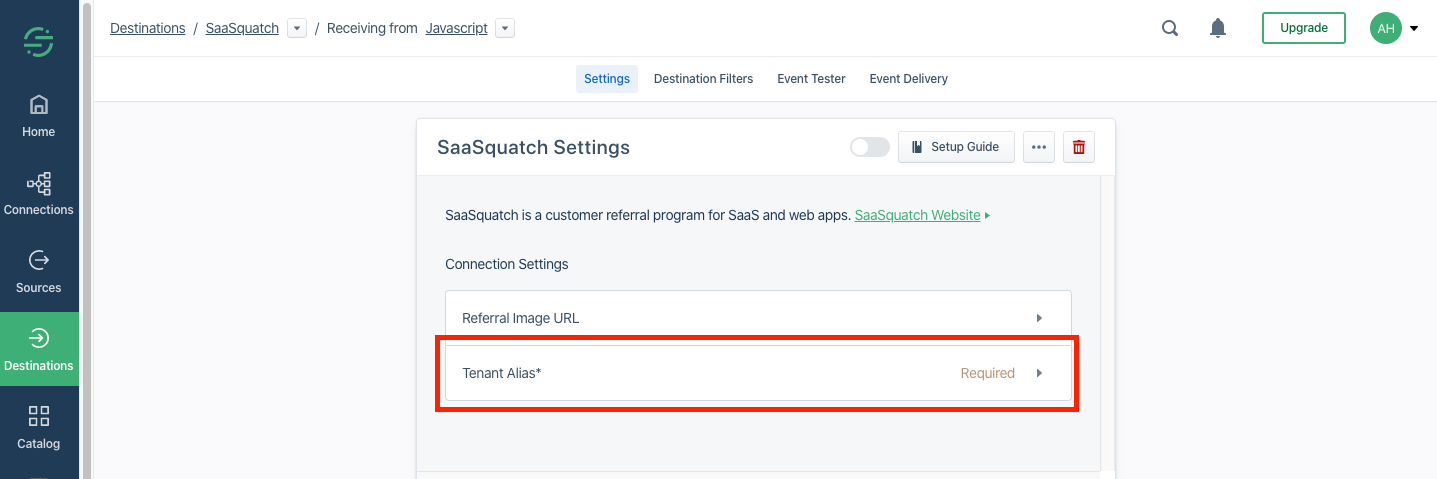
🔗 Configure Tenant
Go the settings page for the integration and insert the tenant alias you would like to use.
Note: If using your Test tenant, make sure to change this value to your Live tenant alias when you have completed testing and your product goes live.
🔗 Segment Code in Page
Please refer to Segment's setup guide for how to integrate their Analytics.js Library into your product.
Step 2 of that setup guide includes details about using the analytics.identify method. The following is a basic example of using analytics.js:
<script type = "text/javascript">
  ! function() {
    var analytics = window.analytics = window.analytics || [];
    if (!analytics.initialize)
      if (analytics.invoked) window.console && console.error && console.error("Segment snippet included twice.");
      else {
        analytics.invoked = !0;
        analytics.methods = ["trackSubmit", "trackClick", "trackLink", "trackForm", "pageview", "identify", "reset", "group", "track", "ready", "alias", "page", "once", "off", "on"];
        analytics.factory = function(t) {
          return function() {
            var e = Array.prototype.slice.call(arguments);
            e.unshift(t);
            analytics.push(e);
            return analytics
          }
        };
        for (var t = 0; t < analytics.methods.length; t++) {
          var e = analytics.methods[t];
          analytics[e] = analytics.factory(e)
        }
        analytics.load = function(t) {
          var e = document.createElement("script");
          e.type = "text/javascript";
          e.async = !0;
          e.src = ("https:" === document.location.protocol ? "https://" : "http://") + "cdn.segment.com/analytics.js/v1/" + t + "/analytics.min.js";
          var n = document.getElementsByTagName("script")[0];
          n.parentNode.insertBefore(e, n)
        };
        analytics.SNIPPET_VERSION = "3.1.0";
        analytics.load("YOUR_WRITE_KEY");
        analytics.page()

        analytics.identify('f4ca124298', {
          name: 'Michael Bolton',
          email: 'mbolton@initech.com'
        });

      }
  }(); </script>
The subsequent parts of this Quickstart Guide assume the main segment code has been correctly configured in your page. The examples below will only cover the changes to the identify method which relate to the SaaSquatch integration.
🔗 Display the Referral Widget
Identify the users to SaaSquatch and enable them to share their unique sharelink to their network of friends through email, Facebook, or Twitter.
analytics.identify( "abc_172", {
    accountId: "abc_172",
    email: "test2@example.com",
    firstName: "test2",
    lastName: "test2",
    paymentProviderId: 'null'
},{
    integrations: {
        SaaSquatch: {
            checksum: null
        }
    }
});
🔗 Embedded Mode
By default the Referral Widget is displayed in Popup mode. The Referral Widget can also be displayed in embedded mode by including the mode parameter set to EMBED:
analytics.identify( "abc_170", {
    accountId: "abc_170",
    email: "test@example.com",
    firstName: "test",
    lastName: "test",
    mode:"EMBED",
    paymentProviderId: 'null'
},{
    integrations: {
        SaaSquatch: {
            checksum: null
        }
    }
});
🔗 Track Signups
The following script will identify a newly registered user to SaaSquatch. By loading the script in NOCONTENT mode it is being used for purely tracking purposes and will not load a widget.
The script will automatically look for a referral cookie in the Referred User's browser and make the referral connection. Note this only works with Classic programs and 3rd party cookies:
analytics.identify( "abc_170", {
    accountId: "abc_170",
    email: "test@example.com",
    firstName: "test",
    lastName: "test",
    mode:"NOCONTENT",
    paymentProviderId: 'null'
},{
    integrations: {
        SaaSquatch: {
            checksum: null
        }
    }
});
🔗 Convert Referrals
🔗 API Programs
For API programs converting a referral is accomplished by including the accountStatus parameter set to PAID:
analytics.identify( "abc_172", {
    accountId: "abc_172",
    email: "test2@example.com",
    firstName: "test2",
    lastName: "test2",
    accountStatus: 'PAID',
    paymentProviderId: 'null'
},{
    integrations: {
        SaaSquatch: {
            checksum: "{{Calculated_Checksum}}"
        }
    }
});
🔗 Payment Provider Integrations
For Programs configured for one of our Payment Provider Integrations (e.g. Stripe or Recurly) the conversion is accomplished in the Payment Provider itself. Simply include the user's ID from the payment provider as paymentProviderId so that our system can track when a conversion happens.
Further details about Payment Provider Integrations can be found in the guides section of our docs.
analytics.identify( "abc_170", {
    accountId: "abc_170",
    email: "test@example.com",
    firstName: "test",
    lastName: "test",
    paymentProviderId: "cus_8yKs12342nsNl"
},{
    integrations: {
        SaaSquatch: {
            checksum: "{{Calculated_Checksum}}"
        }
    }
});
Note:
- Payment Provider programs have slightly different Signed Request requirements than API programs. Please refer to our Signed Requests page for further details.
- Signed Requests using JWT are not currently supported using the Segment integration.
🔗 Additional Resources
The Overview doc for our Segment Integration and squatch.js library provide further details about how to go about setting up this integration.
Segment provides an overview of, and the Github code for, their Integration with SaaSquatch.