SFTP Import Integration
🔗 Configuration
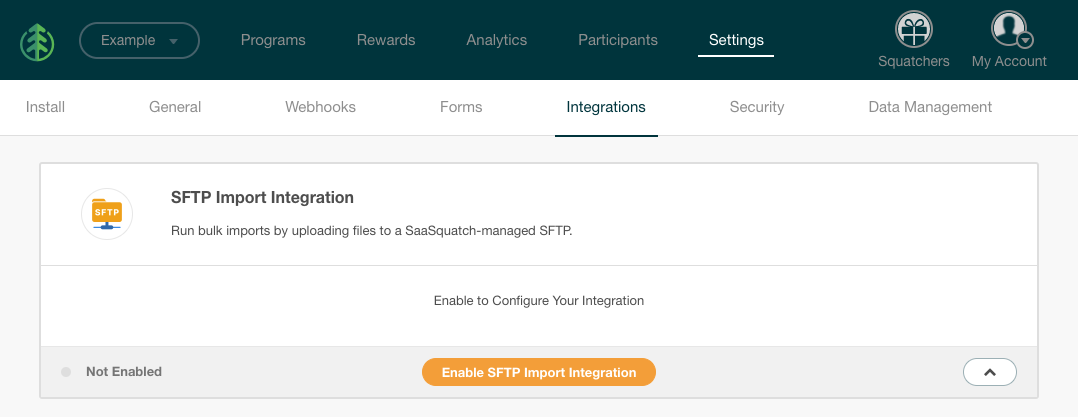
To configure the SFTP Import Integration, first enable the integration on the Integrations page in your SaaSquatch tenant. Find the SFTP Import Integration in the list of integrations, expand the section, and click Enable SFTP Import Integration
The next step is to generate a SSH key that will be used to authenticate with the SFTP Import Integration.
🔗 Generating a SSH key
The SaaSquatch SFTP integration will accept both RSA and ED25519 SSH keys. In these steps we will walk through generating an ED25519 SSH key using your terminal.
- Open your terminal
- Enter
$ ssh-keygen -t ed25519 - When you are prompted to "Enter file in which to save the key", you can input a file path or you can press Enter to use the default location. Be careful not to overwrite any existing SSH keys that you may have stored in the default location.
- Important! When you are prompted to "Enter passphrase (empty for no passphrase)", do not enter a passphrase, instead just press Enter. Then press Enter again to confirm. Keys with passphrases will not be able to authenticate with the SaaSquatch-managed SFTP server.
This will create two files, one is the private key, and the other is the public key. The public key file will have the filename extension .pub
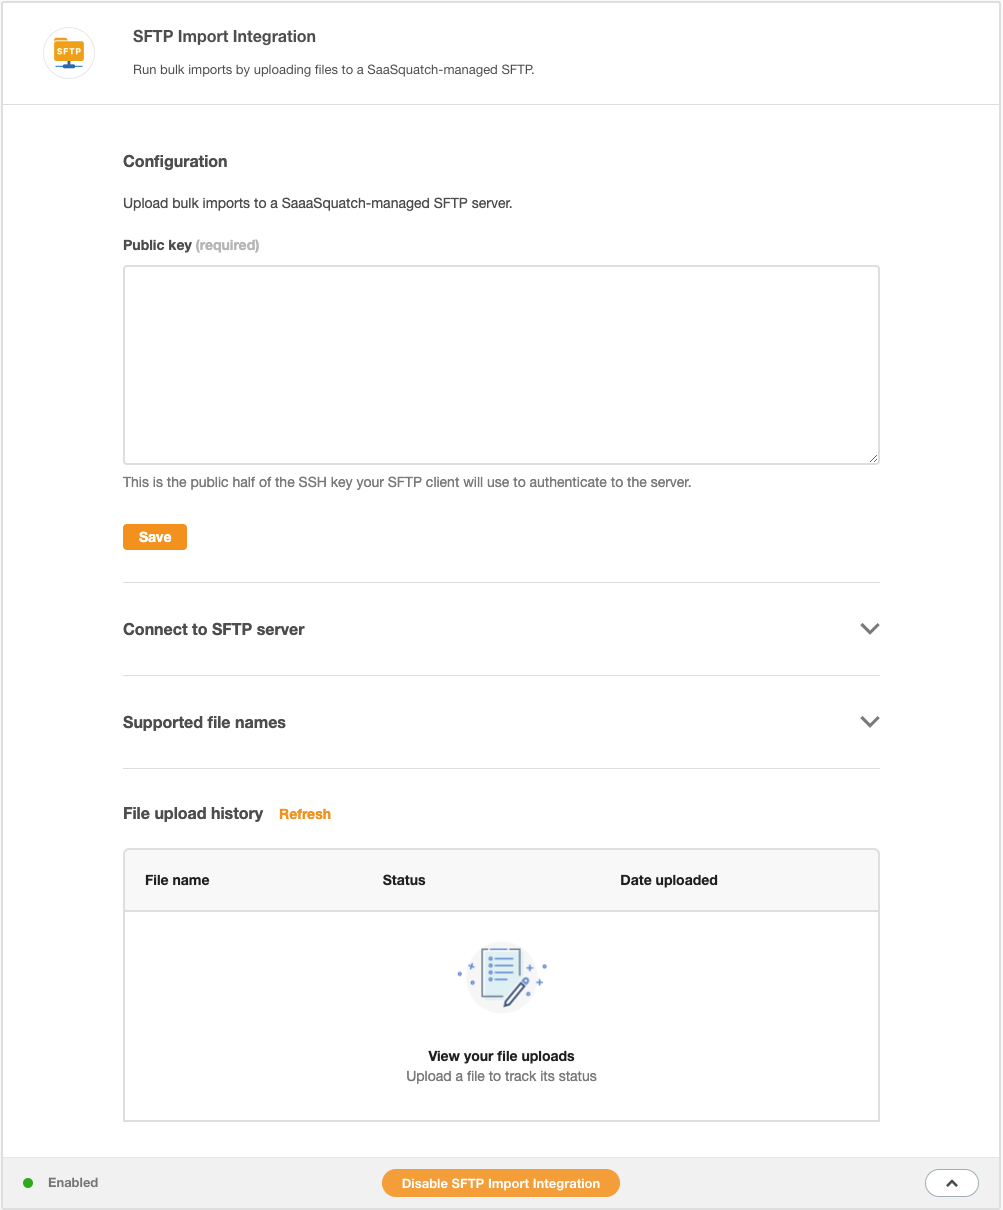
Copy the content of the generated public key file, and paste it into the Public key input and press Save.

🔗 Usage
🔗 Connect to the SFTP server
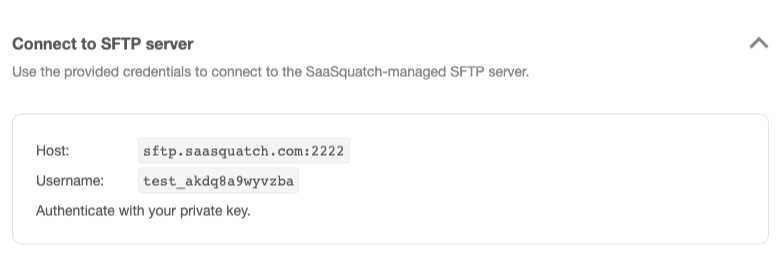
Now that you have saved the public half of your SSH key, you'll be able to connect to the SaaSqautch-managed SFTP server. Open the Connect to SFTP server section to view the SFTP server connection details. To authenticate, you will use your tenant alias as the Username, and authenticate with the private half of the previously generated SSH key.
🔗 Upload import files
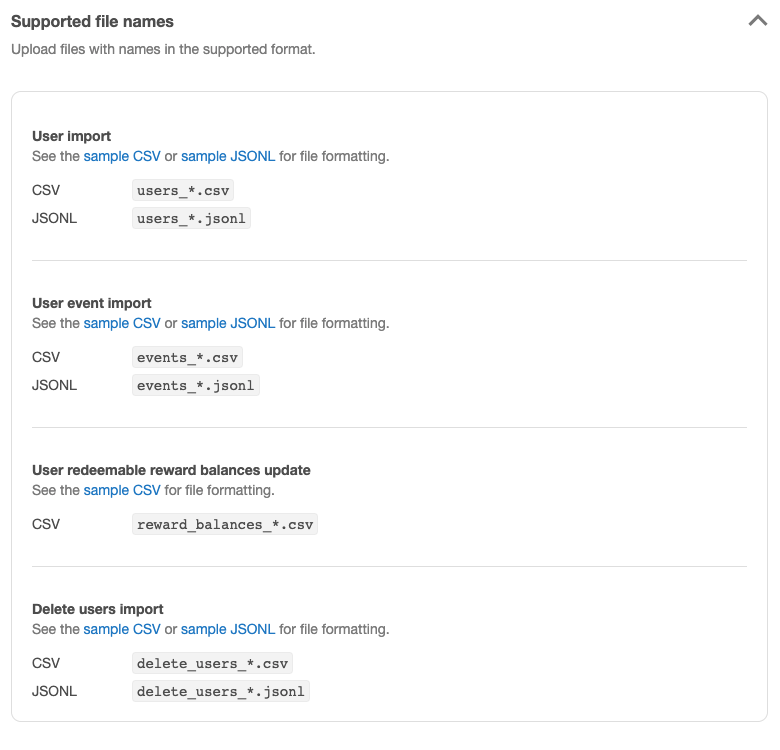
Once you have made a connection to the SaaSquatch-managed SFTP server, you can use the SFTP server to import data into SaaSquatch. The files must be prefixed with the type of data that the import file contains. Refer to the Supported file names section to view the supported import types and the corresponding file prefixes. You can also download example import files from this section.
Note: The maximum file size for a data import is 100 MB
Read more about User imports here
🔗 Check the status of your import
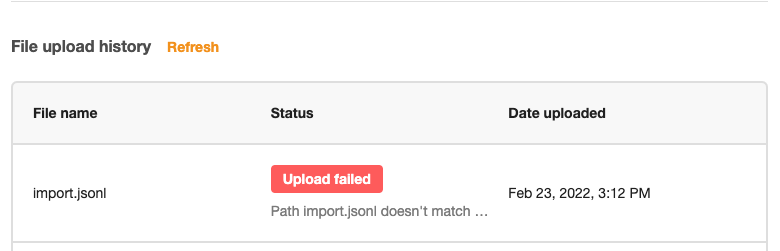
Once you've uploaded a file to the SaaSquatch-managed SFTP server, you can check the status of the file upload from the File upload history section. If the file was successfully uploaded you will see that an import job was created.
Note: The file upload history will not show the status of the import job, to view the status of you import job, visit the Reports page of your SaaSquatch tenant. You can quickly navigate to this page by clicking the success message in the file upload history.

If the file failed to upload, you'll be able to see that in your upload history. Hover over the error message to read the full text.